Installing your own Git server using Gitlab EE on CentOS 7
Alter the firewall rules to allow the needed web ports.
sudo firewall-cmd --permanent --add-service=http
sudo systemctl reload firewalld
Install and configure postfix for email alerts
sudo yum install postfix
sudo systemctl enable postfix
sudo systemctl start postfix
Add the Gitlab yum repository
curl https://packages.gitlab.com/install/repositories/gitlab/gitlab-ee/script.rpm.sh | sudo bash
Install Gitlab EE
sudo EXTERNAL_URL="http://gitlab.example.com" yum install -y gitlab-ce
The install takes a few minutes as it’s doing a ton of stuff under the hood. Once it’s complete you can visit the fully qualified domain name and finish the install and begin configuring this beast. The setup bits at this stage are all done over port 80 (unencrypted) so you should consider setting up SSL prior to entering any sensitive information.
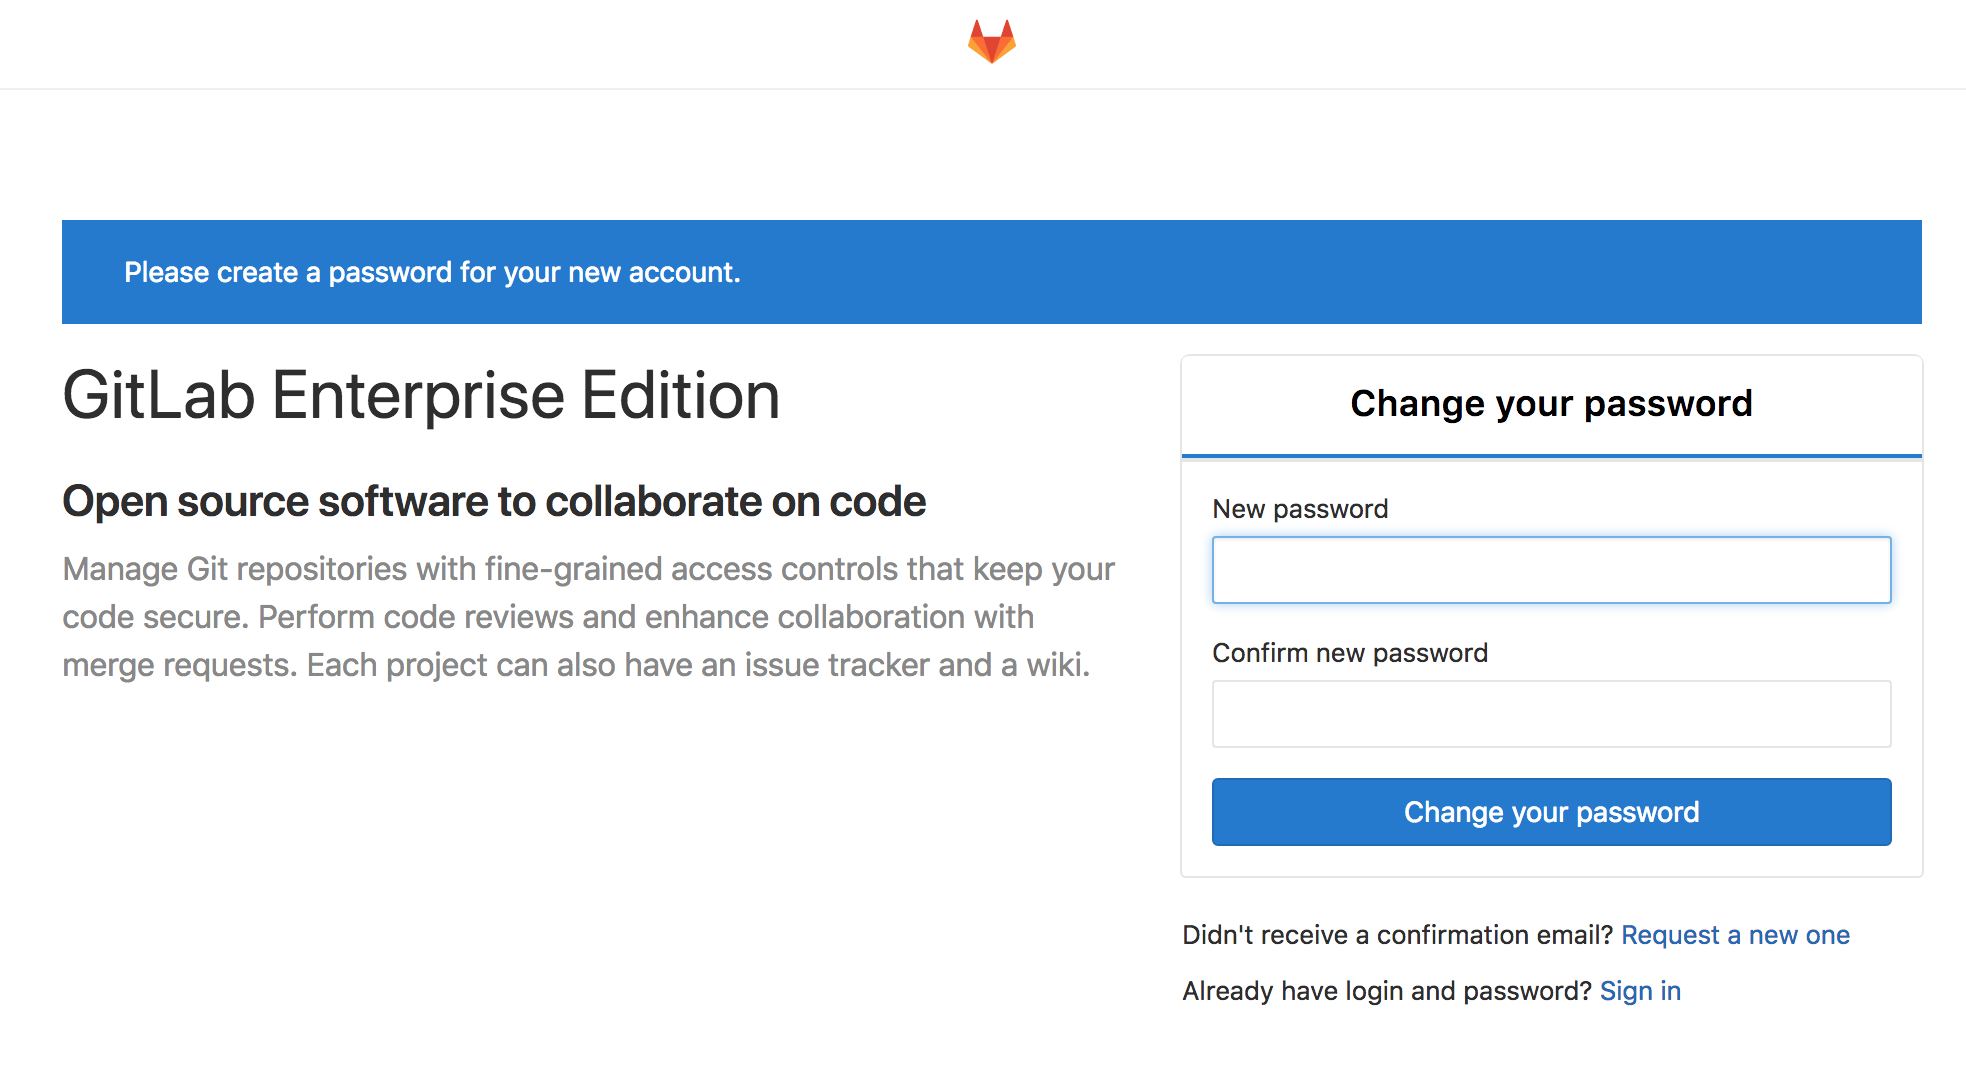
The first page you are greeted with a page that asks for a new password. Enter the password that you would like to use, then submit using the “Change Your Password” button.
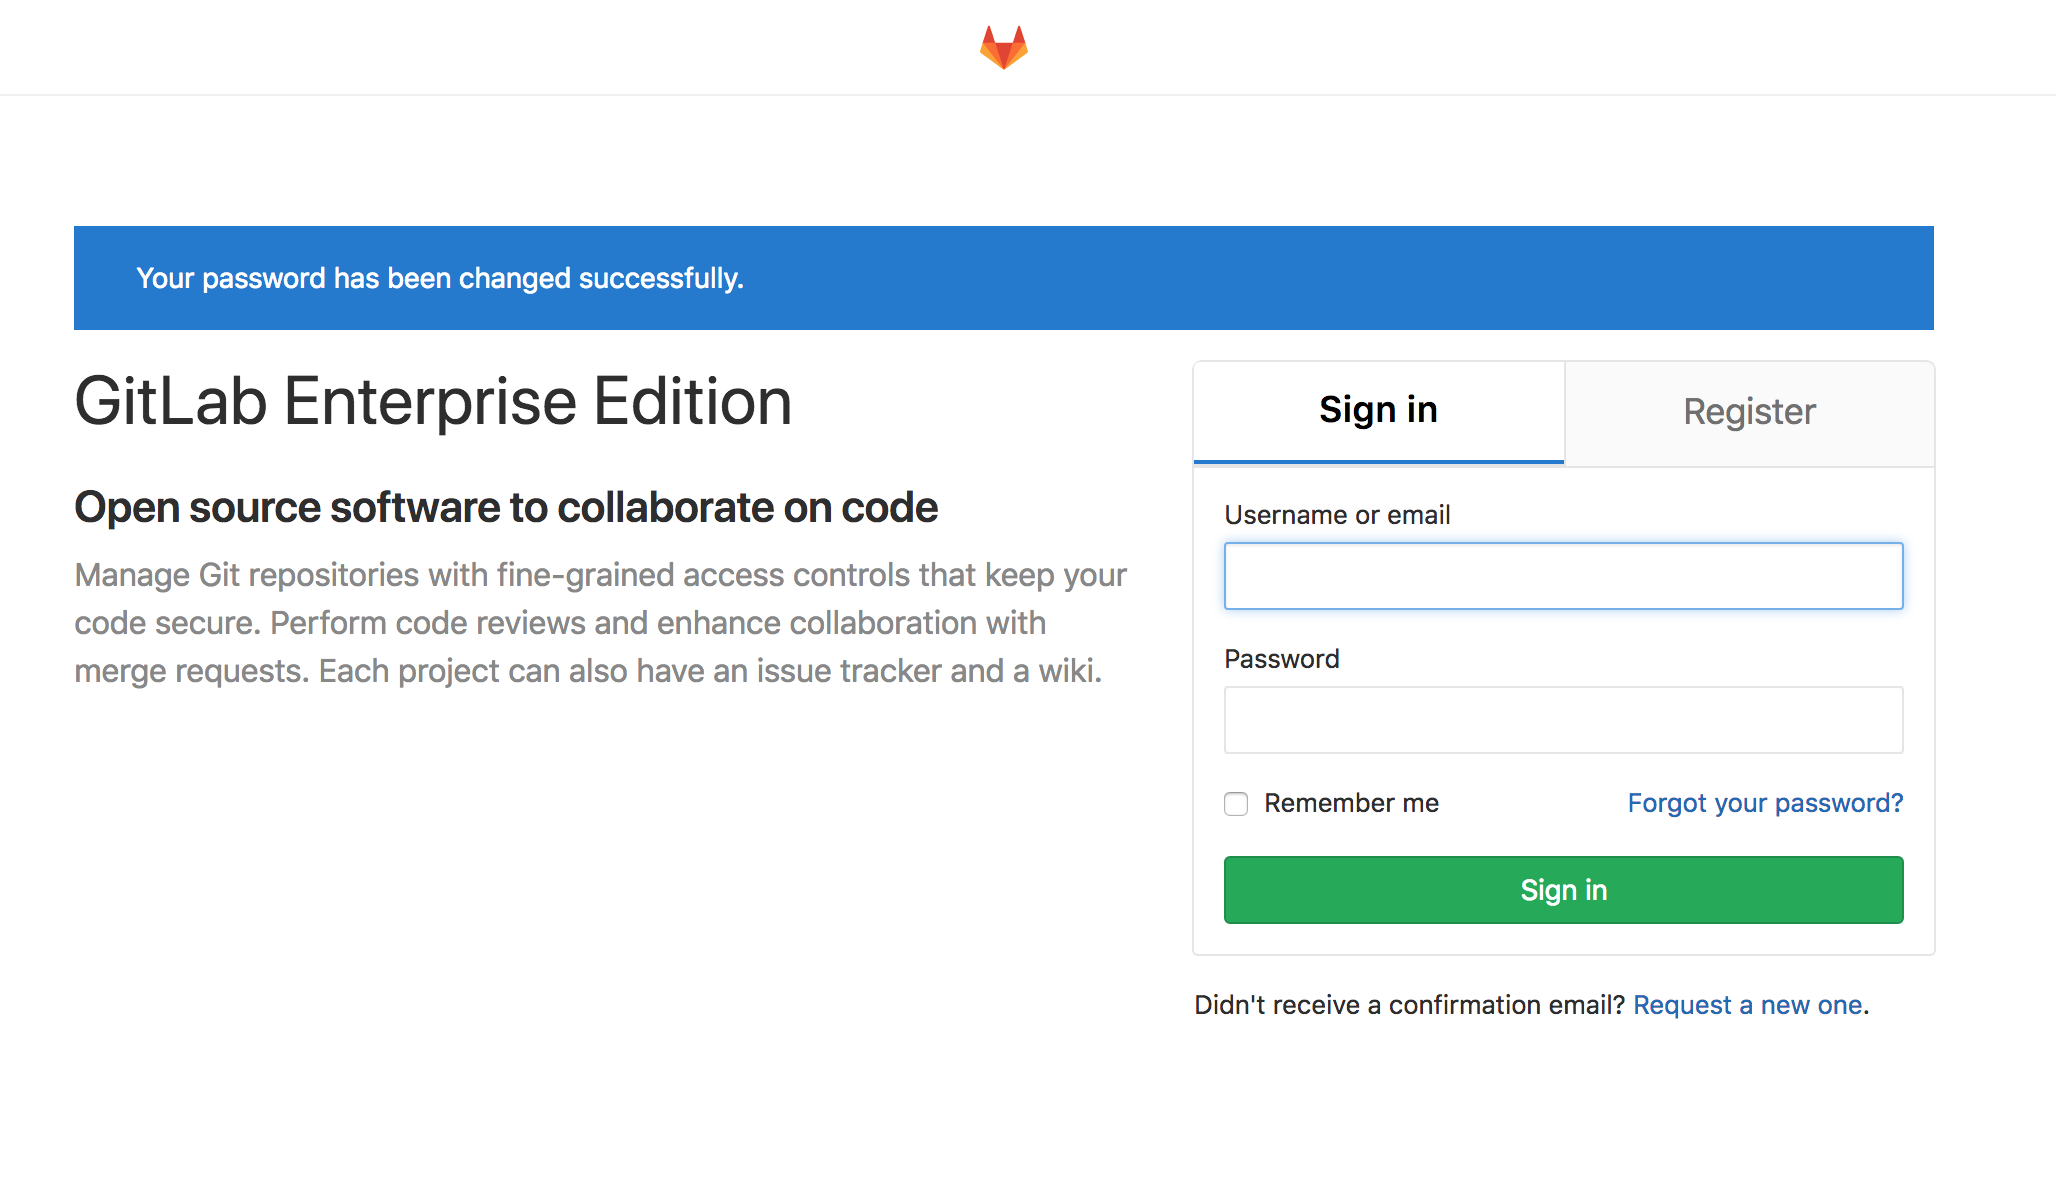
 You will then be greeted with a login page. Use root as the username for the password that you just set. (Don’t worry you can change the user name later)

That’s it for the install. Now you can setup an SSL front end and begin working with your new on prem Github replacement.
